Appearance
First time start-up
NOTE: First start-up will take time, depending on your machine. This is a one-time procedure, that occurs as the script is installing requirements and setting up the virtual environment the first time around.
Linux
The run script starts by detecting your supported package manager:
- apt-get
- yum
- dnf
- zypper
Once your package manager is detected, the script starts looking for python >= 3.10.
If you don't have it installed, you will get the following prompt:
bash
# Type in "y" then click enter, if you would like to automatically install python 3.11
Python 3.10 or higher is not installed or is out of date. Would you like to install it now? (y/n):
After the python check/install, the script will do the same to ensure the following packages are installed. If they are not, it will prompt you to install it similar to how it did with python, shown above.
- venv
- pip
- ensurepip
Finally, it will generate a python virtual environment, install the python dependencies to the environment, and start the TUI application.
MacOS
The script will start by detecting your mac's
- Architecture (Intel/Silicon)
- and shell (Zsh/Bash)
Once your system has been identified, the script moves on to searching for Homebrew
Homebrew is a package manager for MacOS, and is used by the script to install/update python.
If you don't have it installed, you will get the following prompt:
bash
# Type in "y" then click enter, if you would like to automatically install Homebrew
Homebrew is not installed or is out of date. Would you like to install it now? (y/n):
After the Homebrew check/install, the script will do the same to ensure python >= 3.10 is installed. If not, it will prompt you to install it. Similar to how it did with homebrew, shown above.
Finally, it will create a python virtual environment, install the python dependencies to the environment, and start the TUI application.
Windows
You don't need to do much in terms of installation on Windows. Everything is taken care of automatically, with no prompting. However, you need to read a little bit of your terminal output to ensure everything installed correctly, and restart your terminal/machine when necessary. You will find more info below.
The script utilizes Chocolatey to install python >= 3.10
On start the script checks for Chocolatey, and automatically installs it if it is not present. If Choco is installed correctly, you should receive the following prompt at the end of our terminal output:
powershell
You may need to shut down and restart powershell and/or consoles
 first prior to using choco.
Ensuring Chocolatey commands are on the path
Ensuring chocolatey.nupkg is in the lib folder
Failed to install Chocolatey. If prompted above, please restart your command prompt, then run the script again. Otherwise, please install it manually.
Press any key to continue . . .
The first sentence You may need to shut down... indicates Chocolatey was installed correctly. Please restart your terminal, and script, to ensure all the paths have been set up correctly.
Once you restart the script Choco is utilized to automatically install python, if it is not present or is not up to date. If it installs correctly, you will recieve the following prompt:
powershell
The recent package changes indicate a reboot is necessary.
 Please reboot at your earliest convenience.
Failed to install Python. If prompted above, please restart your machine, then run the script again. Otherwise, please install it manually.
Press any key to continue . . .
The first sentence The recent package changes indicate a reboot is necessary. indicates Python was installed correctly. Please restart your machine, to ensure all the paths have been set up correctly.
Once you have restarted your machine, start the script again. Finally, it will generate a python virtual environment, install the python dependencies to the environment, and start the TUI application.
Account Setup
NOTE: Identity and account are used interchangeably in this documentation, and in the TUI
NOTE: You will only encounter the identity creation menu on login if you have never created an identity using the CLI, on the machine before.
Running the application for the first time will prompt you with the Identity Creation menu. The TUI needs to have the default identity setup, so it can display your account

Identity creation menu
Here, just create an account with whatever account name you would like. It is only utilized locally for managing/differentiating identities.
Then, add your crypto wallet's private key. We support wallets like MetaMask, Coinbase, etc.
Upon successful identity creation, the TUI will redirect you to the account page:
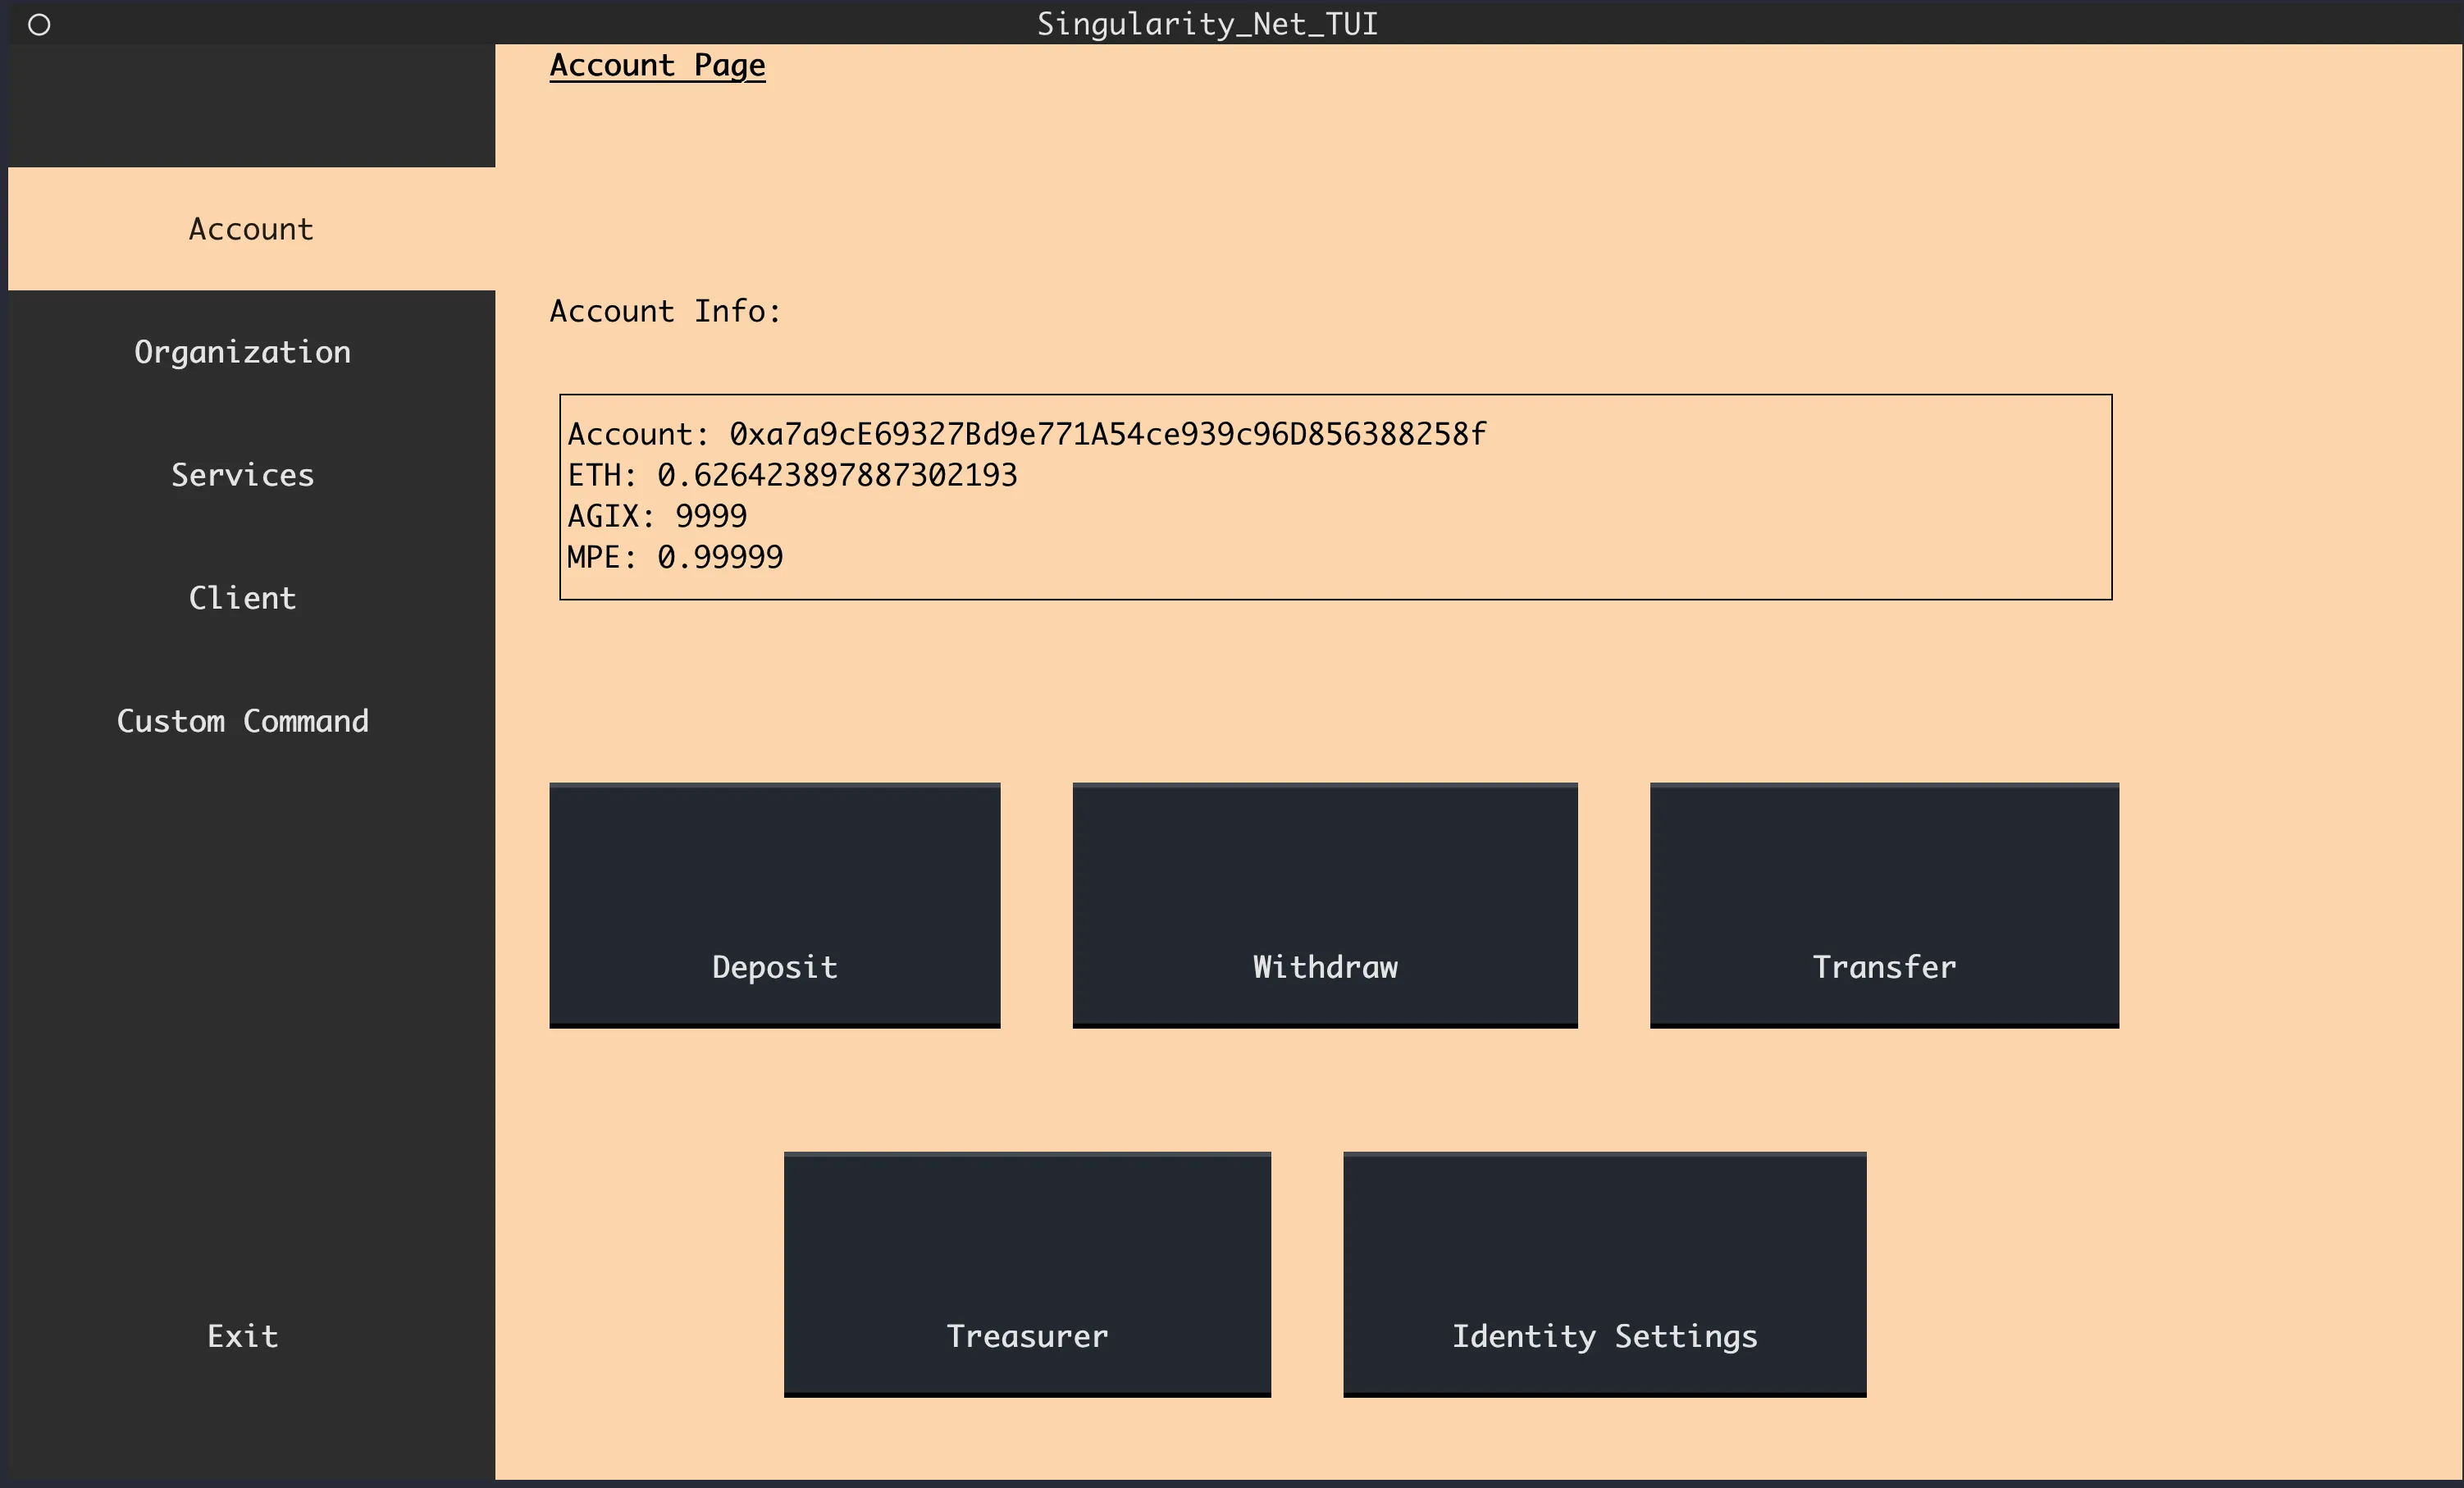
Account Page
You now have full access to all the functionality of the TUI/CLI. You can find some additional information on the Menus here, you will find some guides on performing different operations with the TUI in the Tutorials section, or you can move on to learning about some of the execution flags for the TUI.
NOTE: If the TUI doesn't look great on your terminal, or you're running into some really weird problem, please check out the FAQ section for some recommendations